Guide: Self hosting a Ghost blog on Fly.io (Part 1)
This post explains how to get a Ghost blog set up on Fly.io using SQLite as the database. Ghost is a blog platform that is also available open source and can be self hosted. Out of the box you get a full CMS, themes, and other goodies.
Ghost on Fly with SQLite
Ghost actually uses a MySQL database by default. It used to be SQLite, but it's no longer maintained. That's okay though because SQLite still works! The choice to use SQLite is for the simplicity of getting up and running.
Note: I'll be following up with posts regarding using MySQL and adding a S3-based CDN with Tigris Global Object Storage.
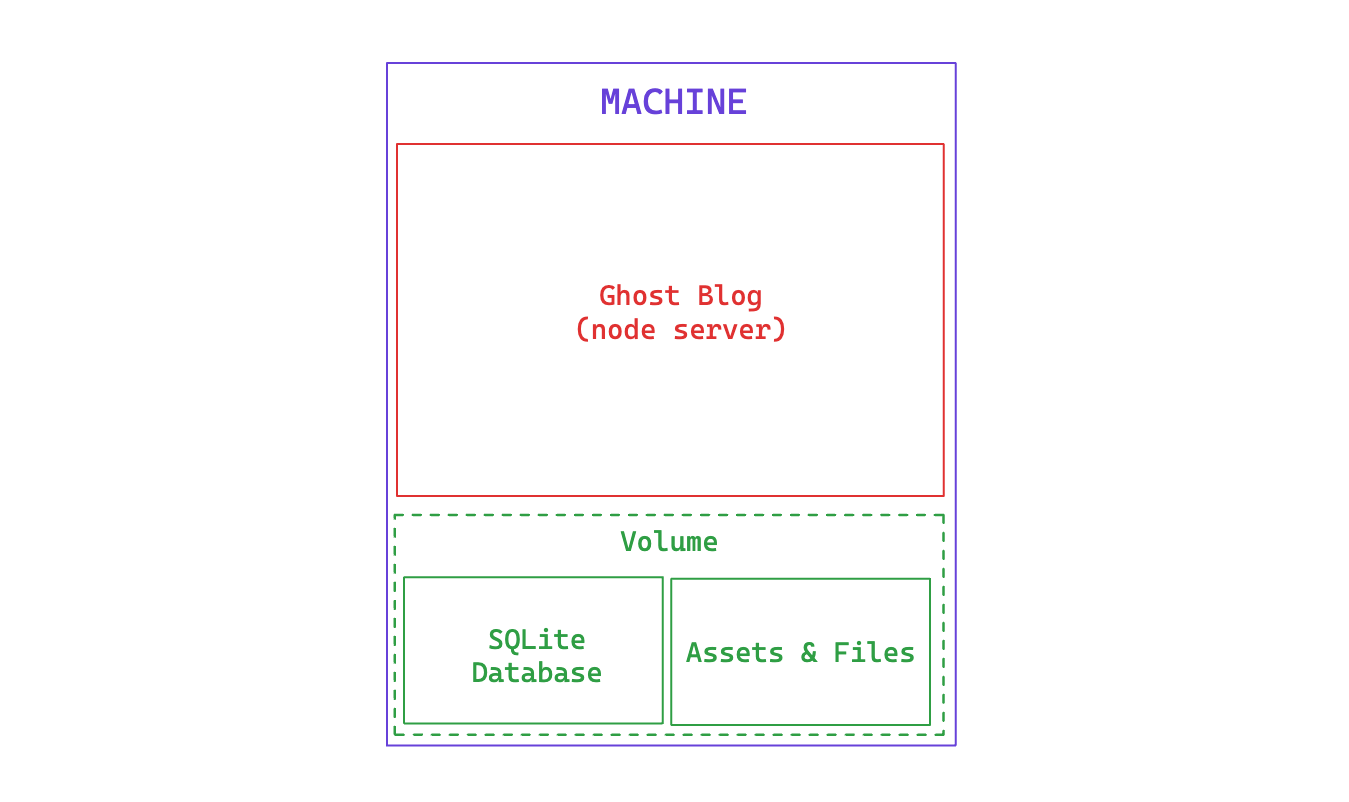
By the end of this post we'll have a Ghost blog running on a Fly Machine:
- a Ghost Blog server (nodejs server)
- a Volume attached to our machine for persisting files between deploys
Here's what that looks like:
Deploying Ghost on Fly
Deploying a Ghost Blog on Fly is easy. I'm going to assume that you've signed up, installed the CLI, and are ready to go.
- Create an empty folder for your project
mkdir my_app
cd my_app- Create an app
Create an app using:
fly apps create --name <app-name>
- Create a Volume
We'll create a volume so that we have persistent storage between deploys.
fly volume create <volume_name> -a <app-name>Here's an example:
fly volume create nathan_tester_volume -a nathan-tester


Warning! Every volume is pinned to a specific physical host. You should create two or more volumes per application to avoid downtime. Learn more at https://fly.io/docs/reference/volumes/
? Do you still want to use the volumes feature? Yes
Some regions require a Launch plan or higher (bom, fra).
See https://fly.io/plans to set up a plan.

? Select region: Hong Kong, Hong Kong (hkg)
                  ID: vol_vppw2zm8kwz3xzkv
                Name: nathan_tester_volume
                 App: nathan-tester
              Region: hkg
                Zone: 644c
             Size GB: 1
           Encrypted: true
          Created at: 14 Jul 24 09:30 UTC
  Snapshot retention: 5
 Scheduled snapshots: true
fly deploy will detect the mount and create a volume for you automatically. - Create a fly.toml file
You can either run fly launch --no-deploy, which should generate a fly.toml file or just make one yourself:
# fly.toml app configuration file generated for my-ghost-blog
#
# See https://fly.io/docs/reference/configuration/ for information about how to use this file.
#

app = '<app name>'
primary_region = 'hkg'

[build]
  image = 'ghost:5.81.0'

[env]
  database__client = 'sqlite3'
  database__connection__filename = 'content/data/ghost.db'
  database__debug = 'false'
  database__useNullAsDefault = 'true'
  url = 'https://<app name>.fly.dev'

[[mounts]]
  source = '<volume name>'
  destination = '/var/lib/ghost/content'

[http_service]
  internal_port = 2368
  force_https = true
  auto_start_machines = true
  min_machines_running = 0
  processes = ['app']

[[vm]]
  memory = '1gb'
  cpu_kind = 'shared'
  cpus = 1
👋 There are couple things you'll want to change here:
- app name: the app name should be what you set in the step #1, but if you skipped that step then you can set it here and
fly launchwill pick it up anyways. - url: likewise the url needs to have the format
https://[[app name]].fly.devso make sure they match - vm memory: the above configuration assumes VM memory of 1GB, but you can adjust it accordingly
- mounts: don't forget to set the mount
sourceto the name of your volume from step #3.
- Run
fly launchorfly deploy
At this point you should be set and running fly deploy will simply deploy your app.
Alternatively, running fly launch --no-deploy will give you a chance to adjust some of the parameters before deploying.
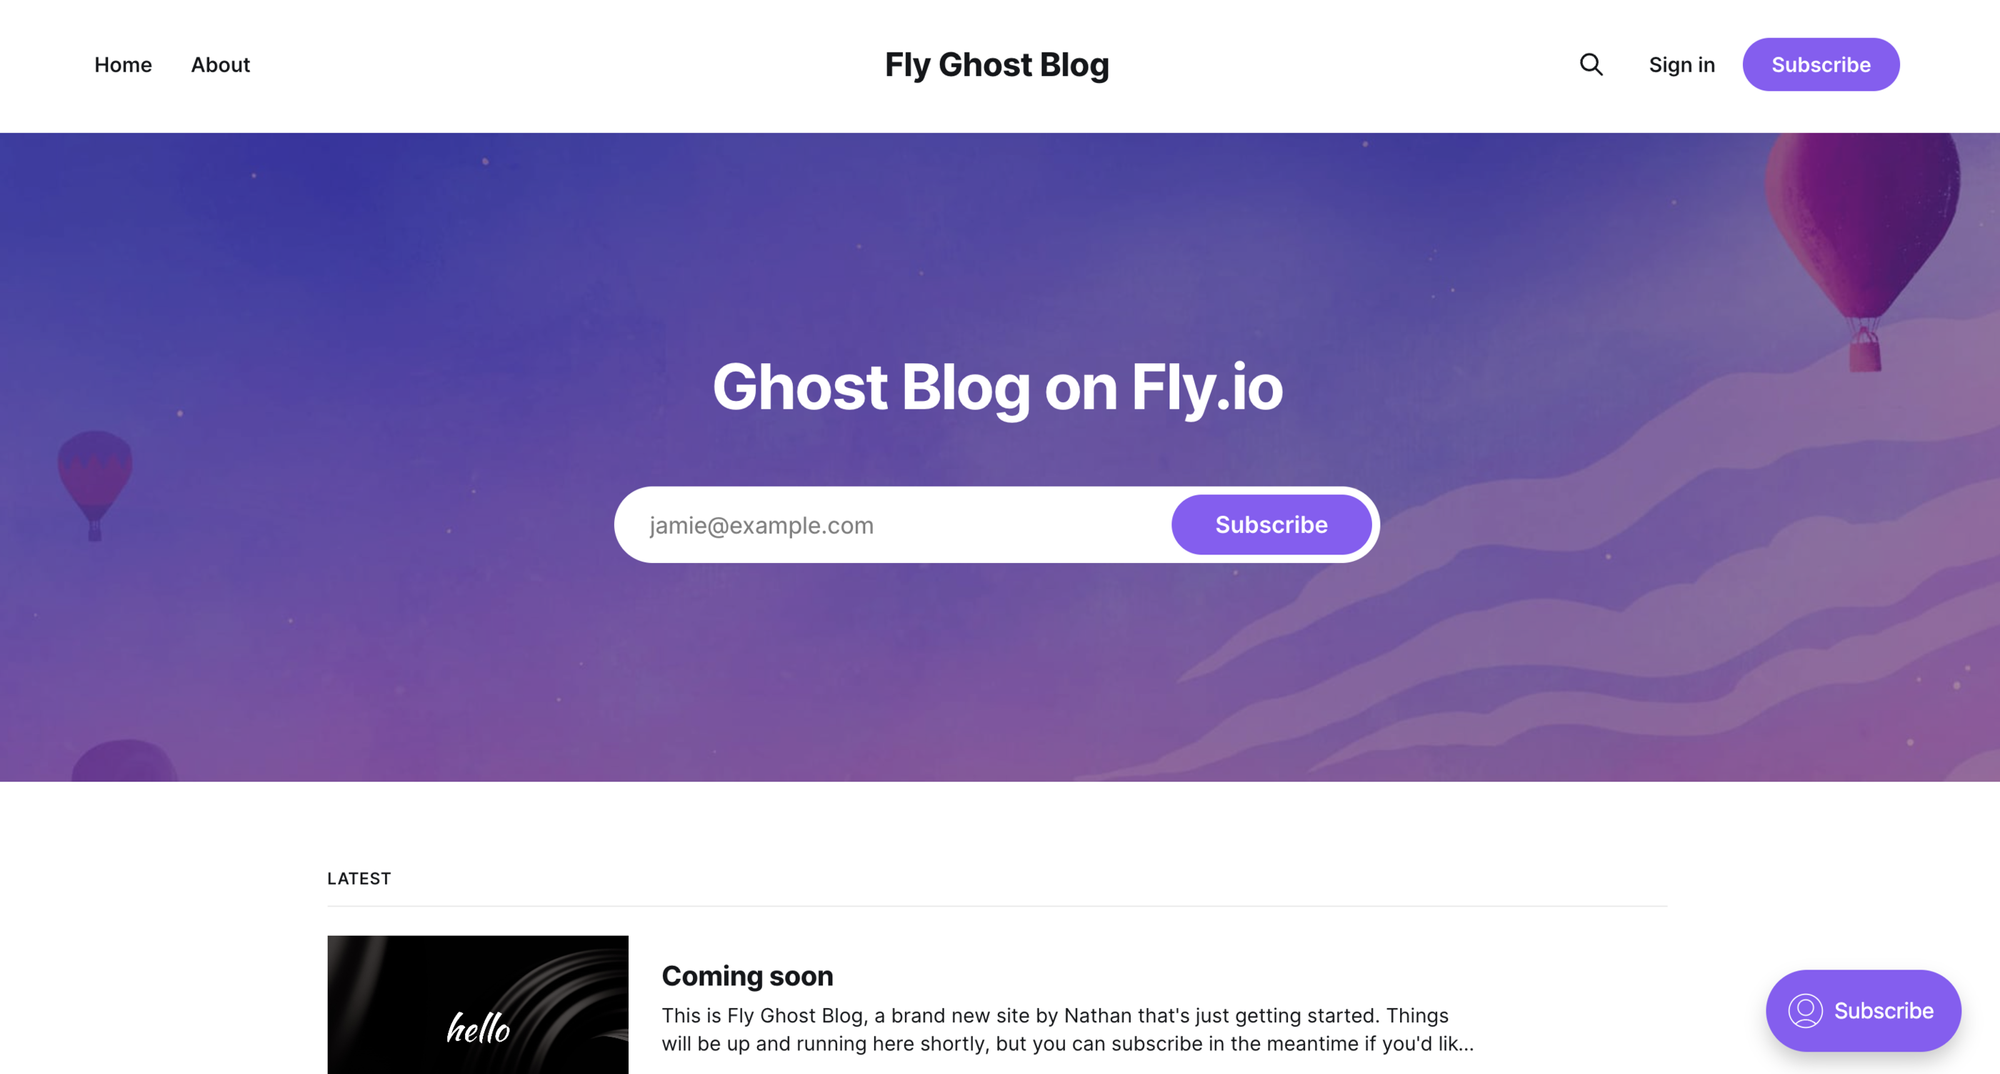
- Start blogging!
At this point you can visit https://[app name]].fly.dev/ghost to get started.
Good luck!
Tips if something isn't working
If you're not able to deploy correctly, it's likely that something is going wrong at the database layer. Using fly logs is your best bet to double check.